Running an EPIC Experiment
1. Create new workspace
This creates a workspace directory with the packaged template structure, including model, management, site, soil, weather, and configuration locations.
2. Edit config file as needed
GeoEPIC is mainly designed for study regions in the USA. In config.yml, update the experiment name, region code, input directories, and run information paths for your area of interest.
EXPName: Nitrogen Assessment
Region: Maryland
code: MD
Fields_of_Interest: ./CropRotations/MDRotFilt.shp
run_info: ./info.csv

soil:
  ssurgo_gdb: ./soil/gSSURGO_MD.gdb
  soil_map: /path/to/SSURGO.tif
  files_dir: ./soil/files

site:
  dir: ./sites
  elevation: /path/to/SRTM_1km_US_project.tif
  slope: /path/to/slope_us.tif
  slope_length: ./soil/MD_slopelen.csv
Known limitation: the packaged template currently uses Area_of_Interest, while workspace prepare expects Fields_of_Interest. If you use workspace prepare, add or rename the key to Fields_of_Interest until the package code is updated.
3. Prepare OPC File
OPC files contain agricultural management operations. Place management files in the workspace OPC directory configured by opc_dir.
4. Prepare the workspace
This command prepares input files before simulation.
Validate the workspace before running a large batch:
5. Execute simulations
The command runs EPIC for configured sites and writes enabled output files to output_dir.
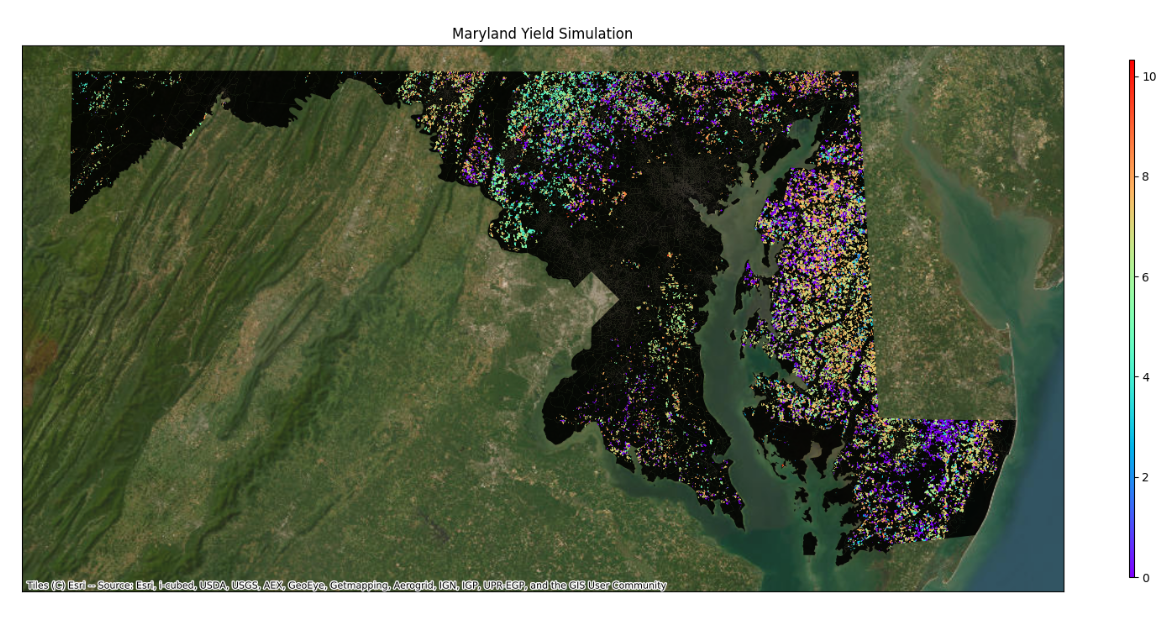
Example Visualization
6. Post-process the output visualization
Post-processing and visualization depend on functions referenced in config.yml.
For post-processing
For visualization
Your plot will look like this: